
Copper's contact form widget lets visitors send an enquiry from a floating form on your website. This guide turns supported widget submissions into conversions you can send to your ad platforms.
There is no account to connect. To set it up, follow the instructions below:
Before you start: Publish Copper's floating contact form widget on your live HTTPS website and install Converly on the pages where it appears. Follow Install Converly if you have not done that yet.
This trigger covers the Copper Contact Form Widget only. Copper-hosted pages, forms inside an embedded frame and other display modes are not covered. Other serving domains and mobile browsers have not been verified.
Converly waits for both Copper's successful reply and a new success message in the same widget. The widget must complete within 60 seconds of the submission. A success message on its own does not count.
Step 1: Create a flow
A flow is the rule that turns a form submission into a conversion. Click Flows in the left sidebar, then Create New Flow, and give it a name like "Contact form leads".
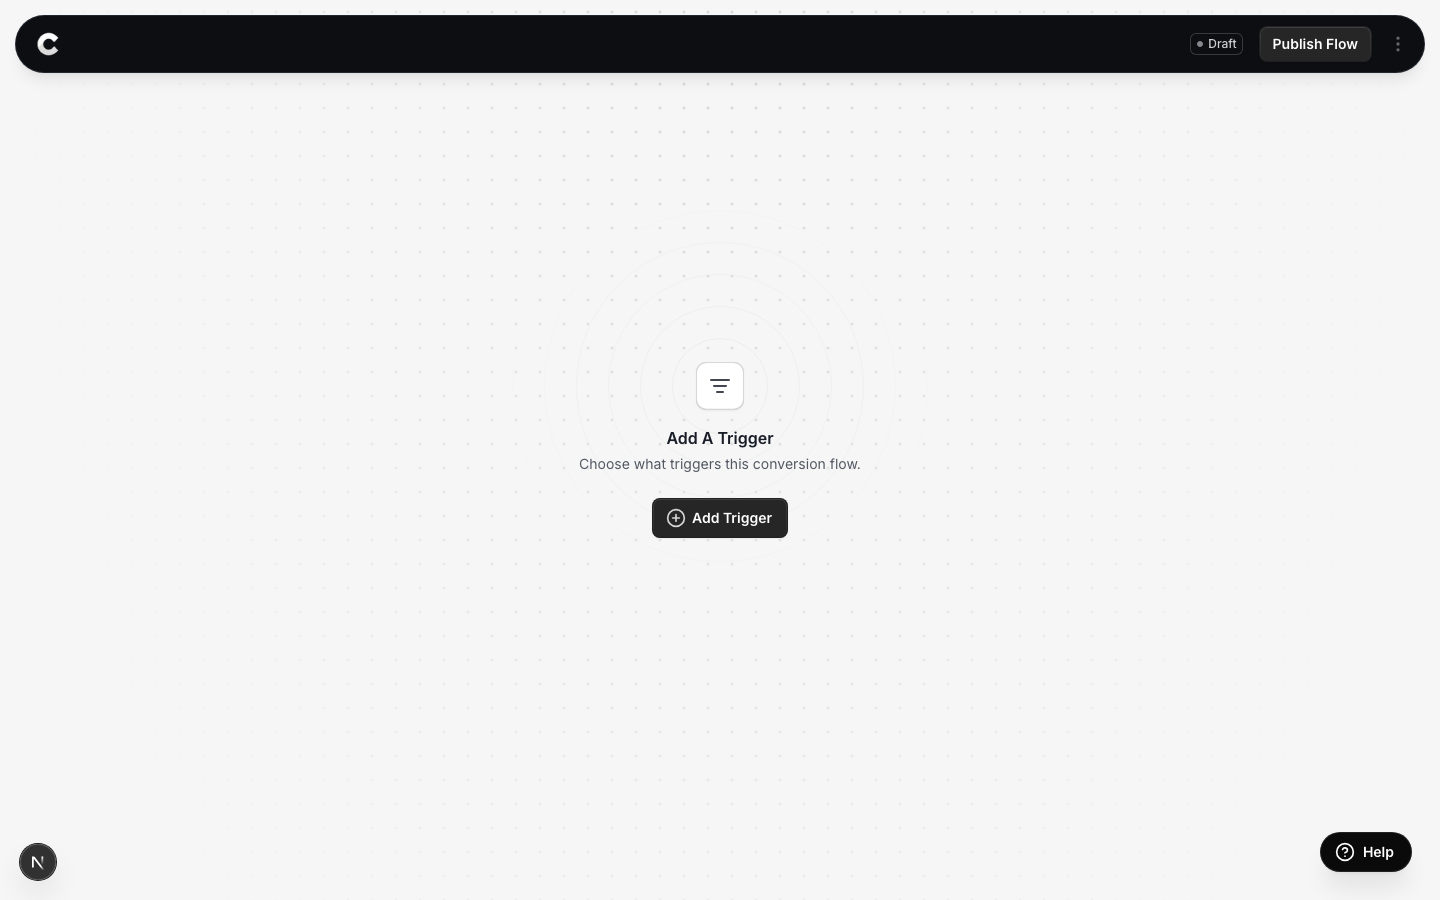
You land in the flow builder. It is empty for now. Click Add Trigger to choose what starts this flow.
Step 2: Choose Copper Contact Form Widget
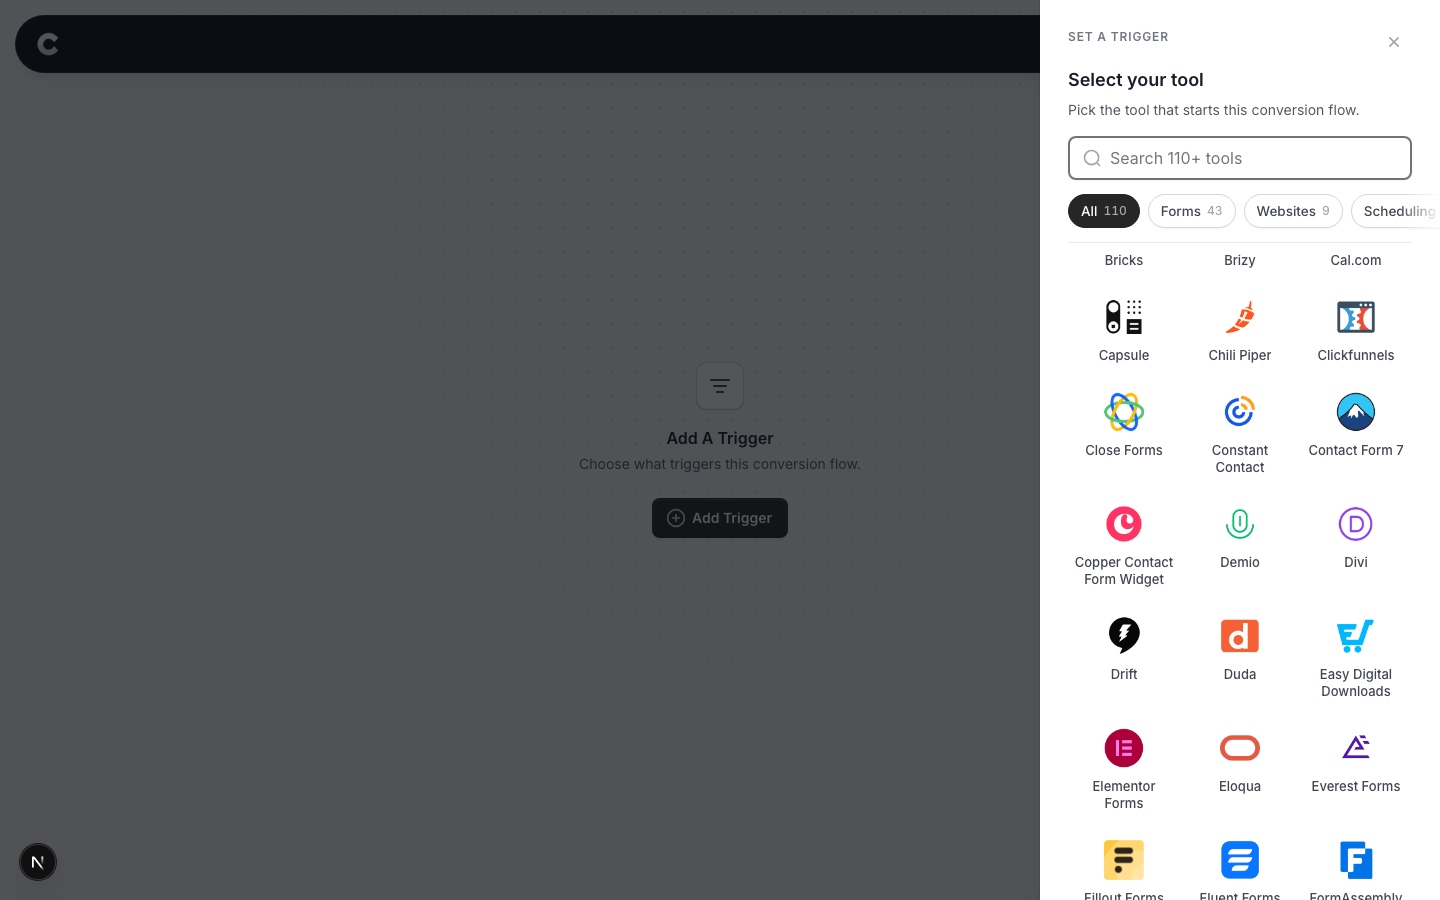
A panel slides in from the right listing every lead capture tool Converly supports, grouped by type.
Simply click Copper Contact Form Widget. If you do not see it straight away, scroll the panel or use the search box at the top.
Step 3: Choose where it fires
Converly counts when a supported Copper widget receives a successful reply and shows its success message. Use the page setting to choose which website pages count.
Read this before you choose
Without a specific page, every supported Copper widget on your site can contribute to the same conversion. To count only the ones on a particular page, choose that page.
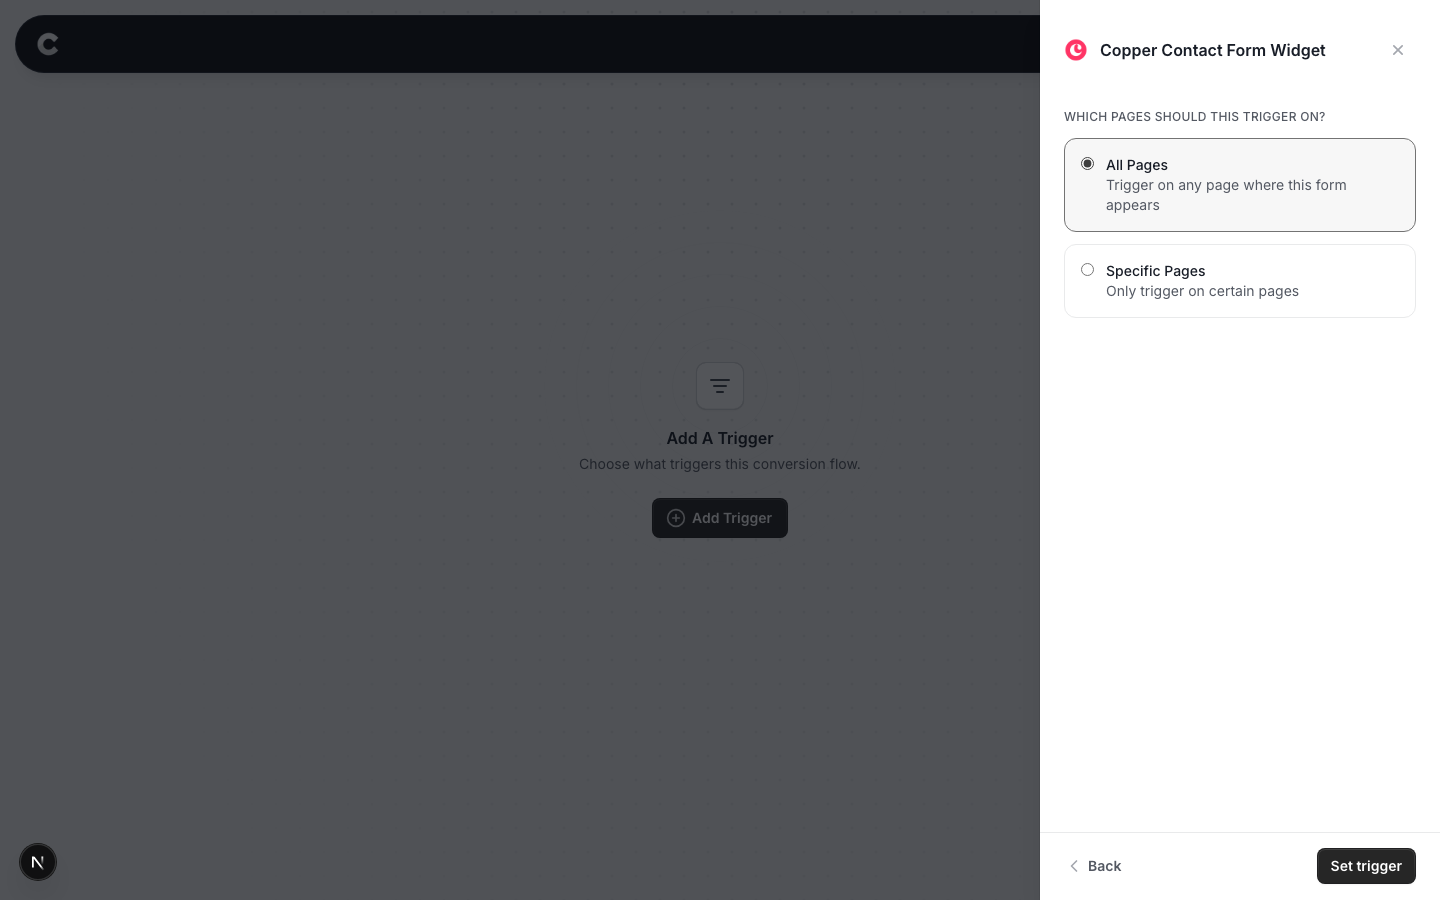
Option 1: Trigger on all pages
A conversion fires when a supported Copper widget receives a successful reply and shows its success message. This includes supported forms across your site. Choose this if all those submissions should count together.
Option 2: Trigger on specific pages
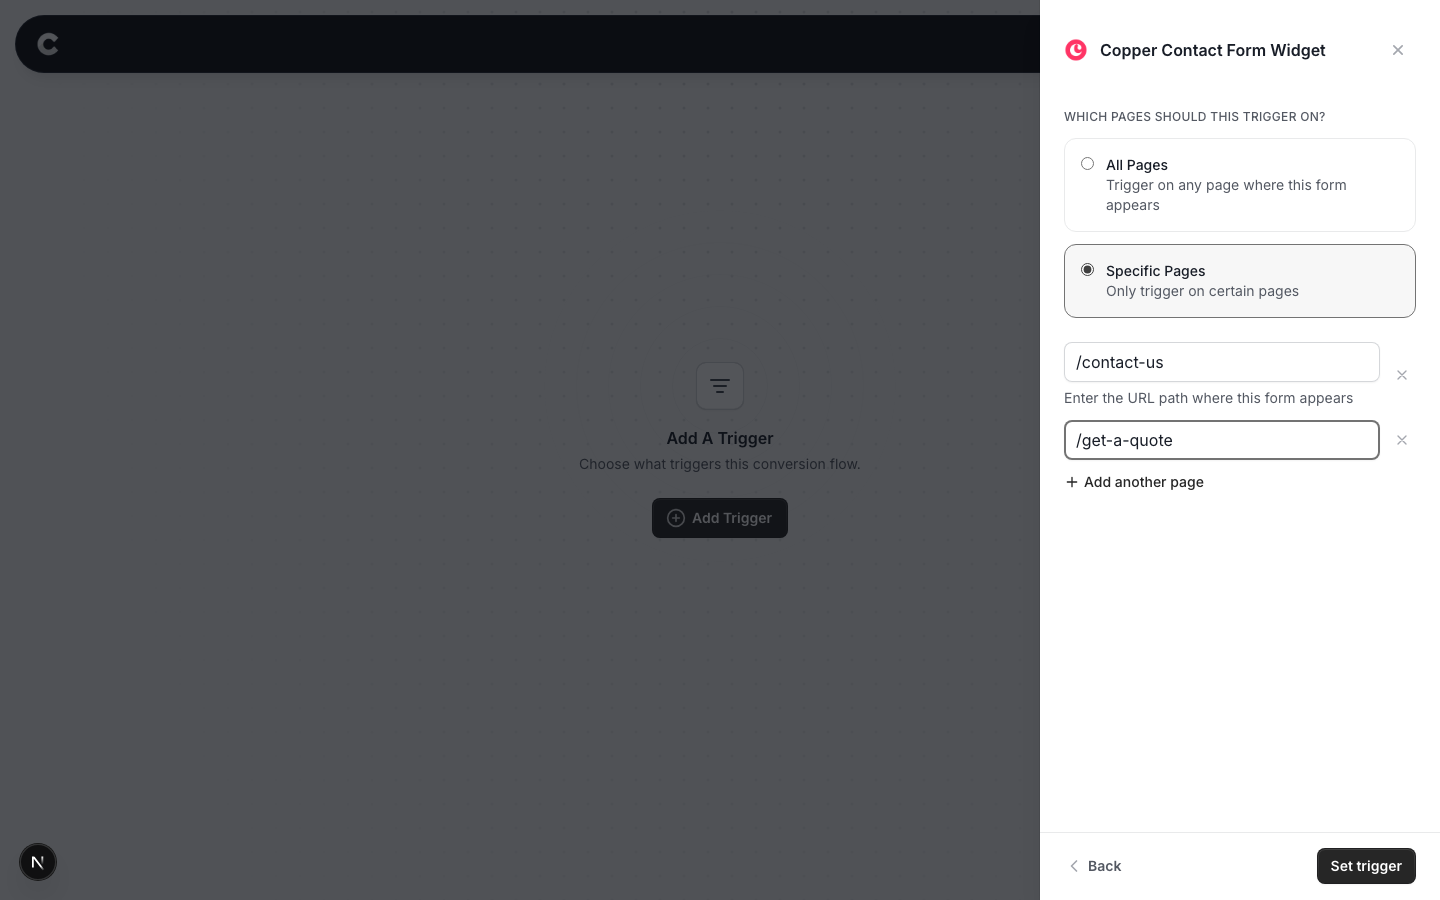
To count a form on https://www.yoursite.com/contact-us, select Specific Pages and enter /contact-us. The path is just the part after your domain. Start it with a slash, and do not include the domain.
Use the website page containing the form or widget, including for pop-ups. Do not enter a hosted form address or a separate thank-you page.
Click Add another page if you want to include more than 1 page, or the x to remove a page.
If 2 forms or widgets share 1 page
Page filtering includes both, so both can count as this conversion. To count only 1, put it on its own page, or contact support before publishing.
When you have picked an option, click Set trigger.
What happens next
A trigger on its own does not send anything yet. Next you add 1 or more destinations (Google Ads, Meta, and so on) and publish the flow. See Building a flow for that part.
A double click can count as 1 conversion while Copper records 2 form submissions against the same person. Converly does not prevent Copper from recording both.
After rapid repeat submissions or an uncertain result, later submissions in that widget can be missed until the page reloads. Correcting an invalid submission in the same widget has not been verified. The count confirms the widget's success sequence and does not independently prove that a record was saved.
Converly captures the name, email and mobile phone fields for matching. A full name is split into first and last name. Messages, hidden fields and other answers are not included.
That's it! The final step is to test your setup in a new incognito window. Open the floating widget on your live website, submit it with a real email address and wait for its success message. Then click Logs in Converly's left sidebar and check the destination results for your test. You can read more about how to properly test your setup here.
If submissions are not showing up later, check that you are using the floating contact widget, then check your Converly installation, page paths and that the flow is Active rather than Draft. For another test after an error or rapid repeat submissions, reload the page first. Blocked scripts or withdrawn advertising consent can also prevent tracking.