Sending conversions to Google Ads tells it which clicks turned into real leads. Google Ads uses that to bid smarter and to show you which campaigns and keywords are working.
A destination is added inside a flow as an action. So you connect Google Ads while building (or editing) a flow.
Before you start: you need a flow that already has a trigger set up (see Building a flow), and access to your Google Ads account.
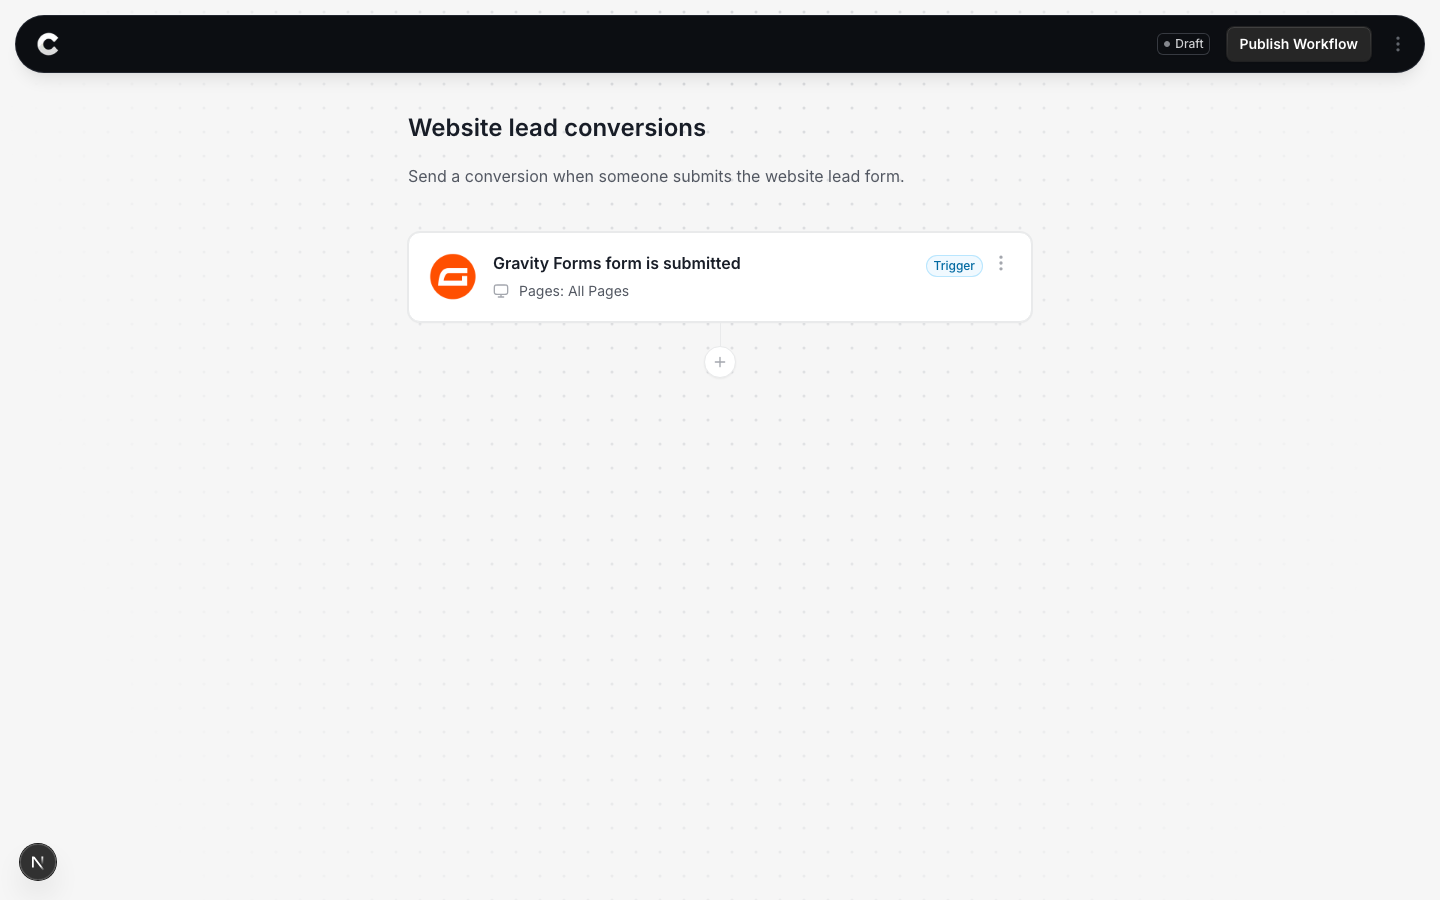
Step 1: Add an action
Open the flow with your trigger. Below the trigger card there is a + button. Click it to add an action.
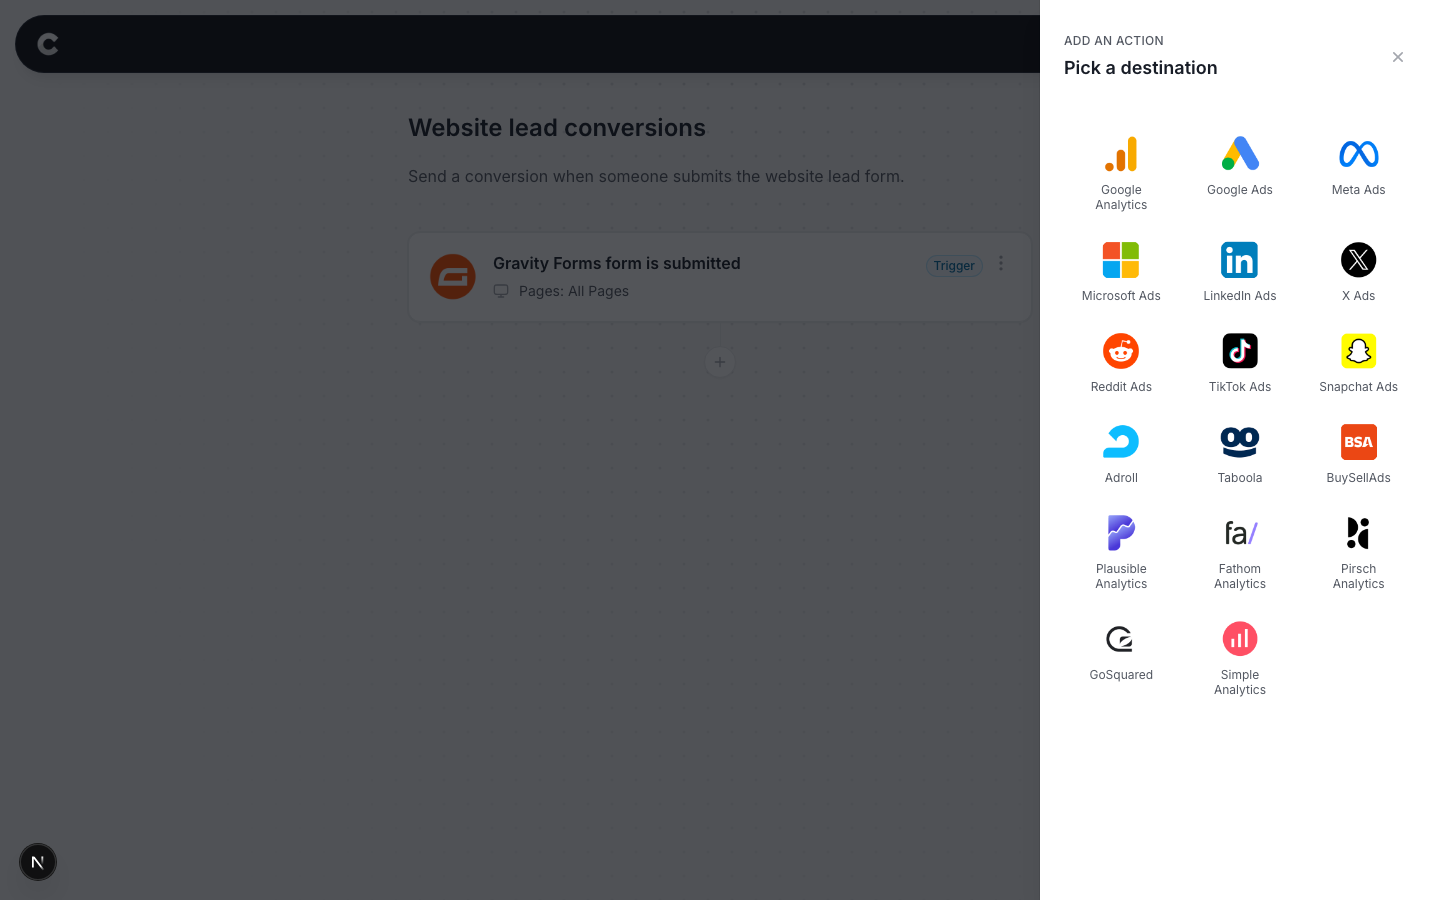
Step 2: Choose Google Ads
A panel slides in from the right listing every destination Converly can send to. Click Google Ads.
Step 3: Connect Google Ads
The first time you use Google Ads you need to connect it. Click Log in with Google.
A Google window opens. Sign in with the Google account that has access to your Google Ads, and approve the request. The window closes and you come back to Converly, where you pick which Google Ads account Converly should send conversions to. This is a one time step. After this, Google Ads stays connected for every flow.
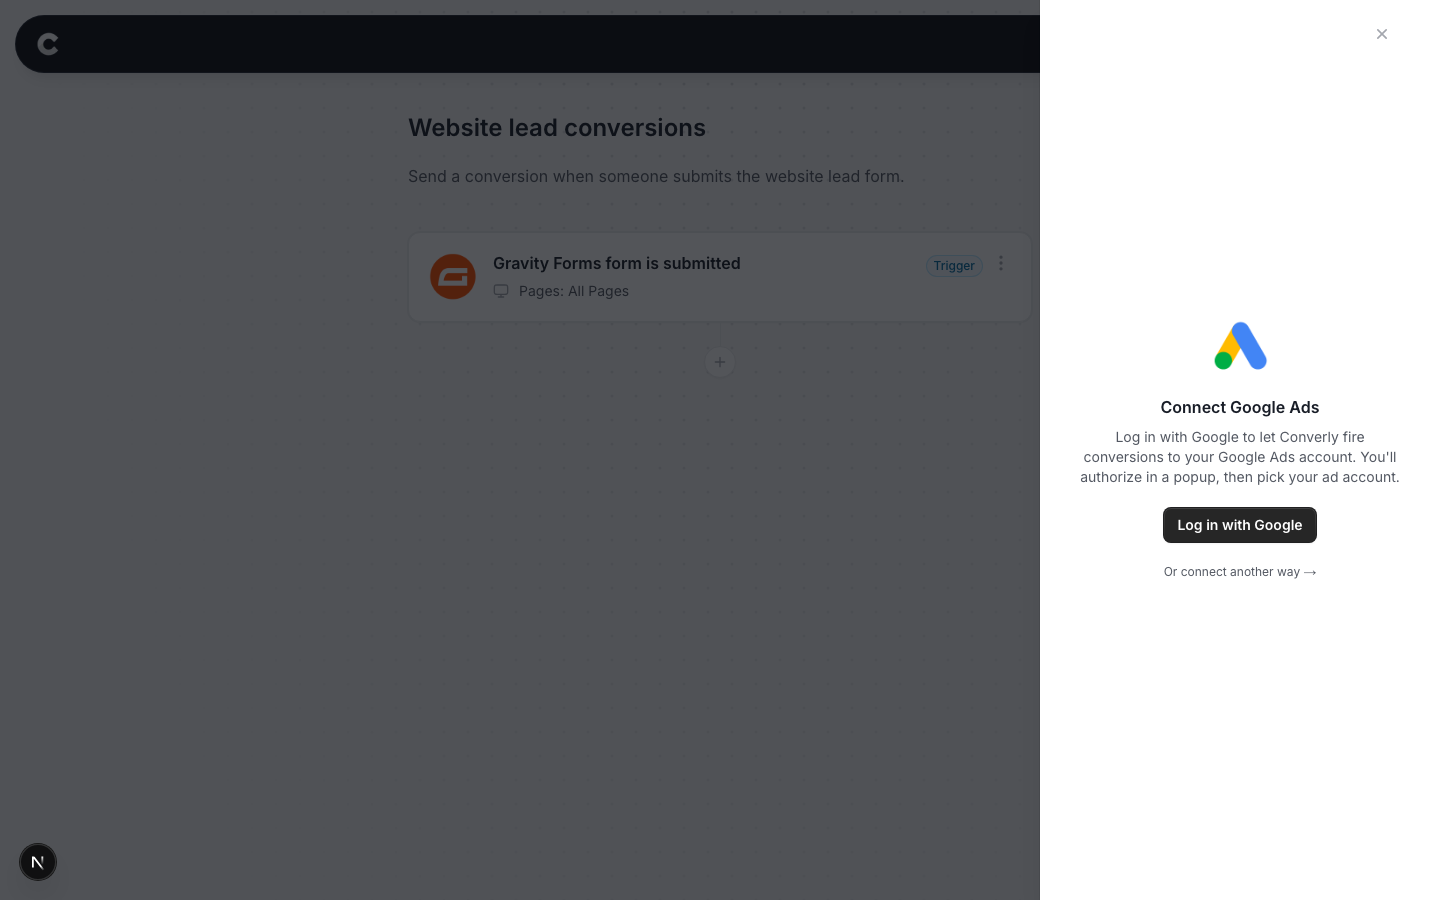
Agencies managing client accounts
If you manage client accounts through a manager (MCC) account, use Or connect another way instead. That path links Converly to your manager account using your 10-digit customer ID.
Step 4: Choose your conversion
Now tell Converly which Google Ads conversion to record. Pick an existing conversion action from the dropdown, or choose Create a new conversion if you do not have one yet.
You can set a value and currency if each lead is worth a fixed amount to you. Leave the value blank if not.
Leave Enhanced Conversions turned on. It sends securely hashed customer details alongside the click ID, which significantly improves how many conversions Google can match back to a click. This is the single biggest lever on accuracy, so only turn it off if you have a specific reason.

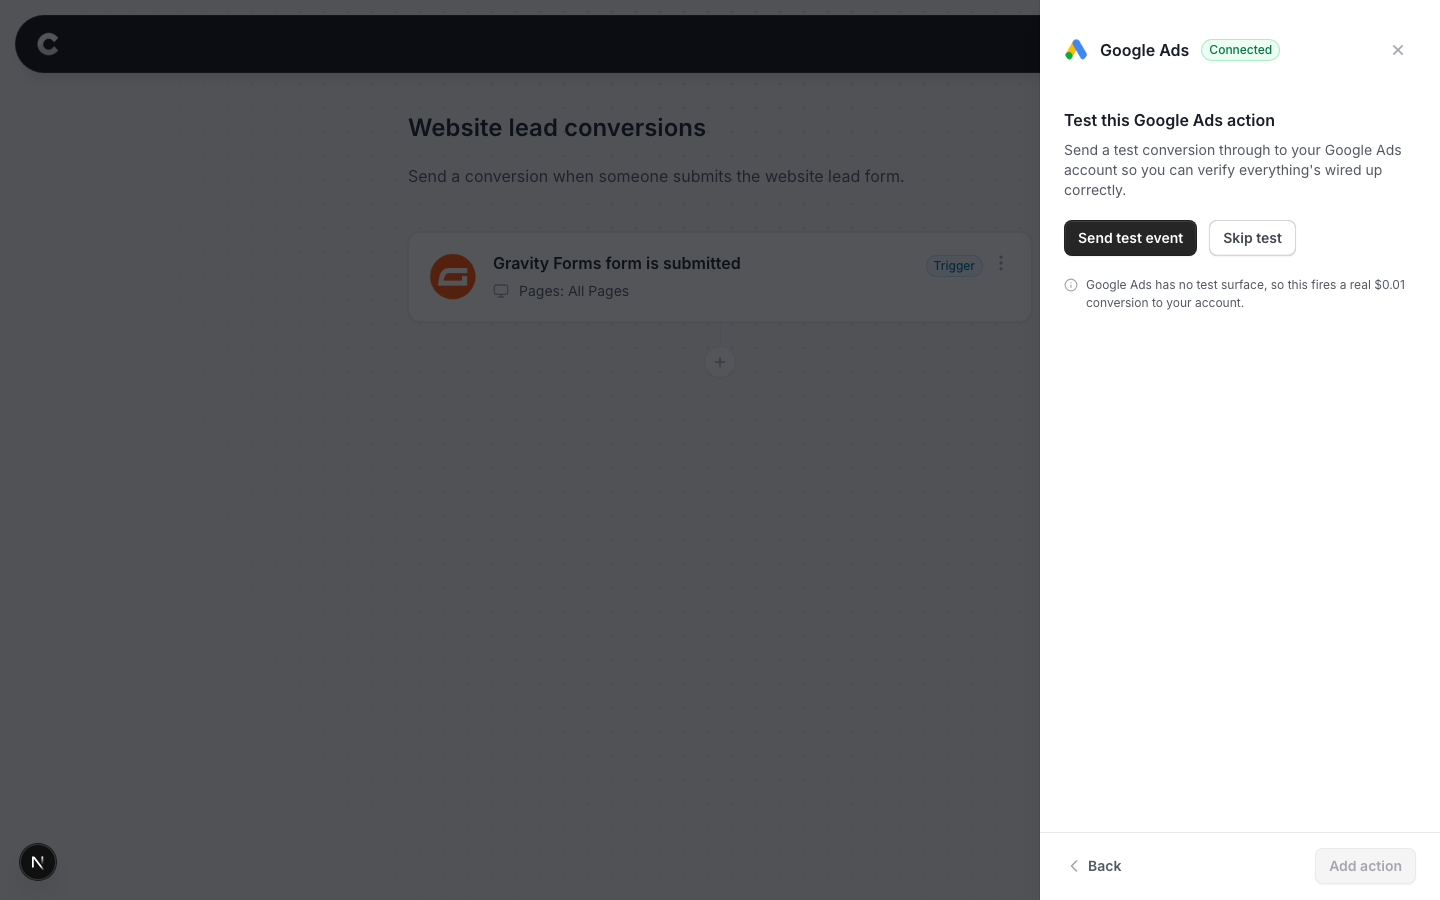
Step 5: Send a test
Click Send test event to push a test conversion through to Google Ads. Then click Add action and publish the flow.
Google Ads has no live test view, and is slow to confirm
Unlike some tools, Google Ads does not have a screen that shows conversions arriving in real time. A test you send will not appear straight away. Google Ads can take up to 48 hours to display it, in the Diagnostics tab of the conversion action. A test not showing immediately is completely normal and does not mean anything is broken. Do not keep re-sending tests expecting instant confirmation. Come back and check Google Ads a day or two later.
What happens next
Once the flow is published, real conversions flow to Google Ads automatically. You can watch them arrive in Converly on the Activity page right away, even though Google Ads itself takes longer to show them.
If conversions still are not showing in Google Ads after 48 hours, check that the conversion action you picked is set to Active in Google Ads, that the flow is Active rather than Draft in Converly, and that the connection still shows as connected under Settings.