If you run ads that send people to a Jotform form, this guide turns every submission into a conversion you can send to Google Ads, Meta, or anywhere else.
Before you start: you need admin access to your Jotform account, and Converly installed on your site.
Step 1: Create a flow
A flow is the rule that turns a Jotform submission into a conversion. Click Flows in the left sidebar, then Create New Flow, and give it a name like "Jotform leads".
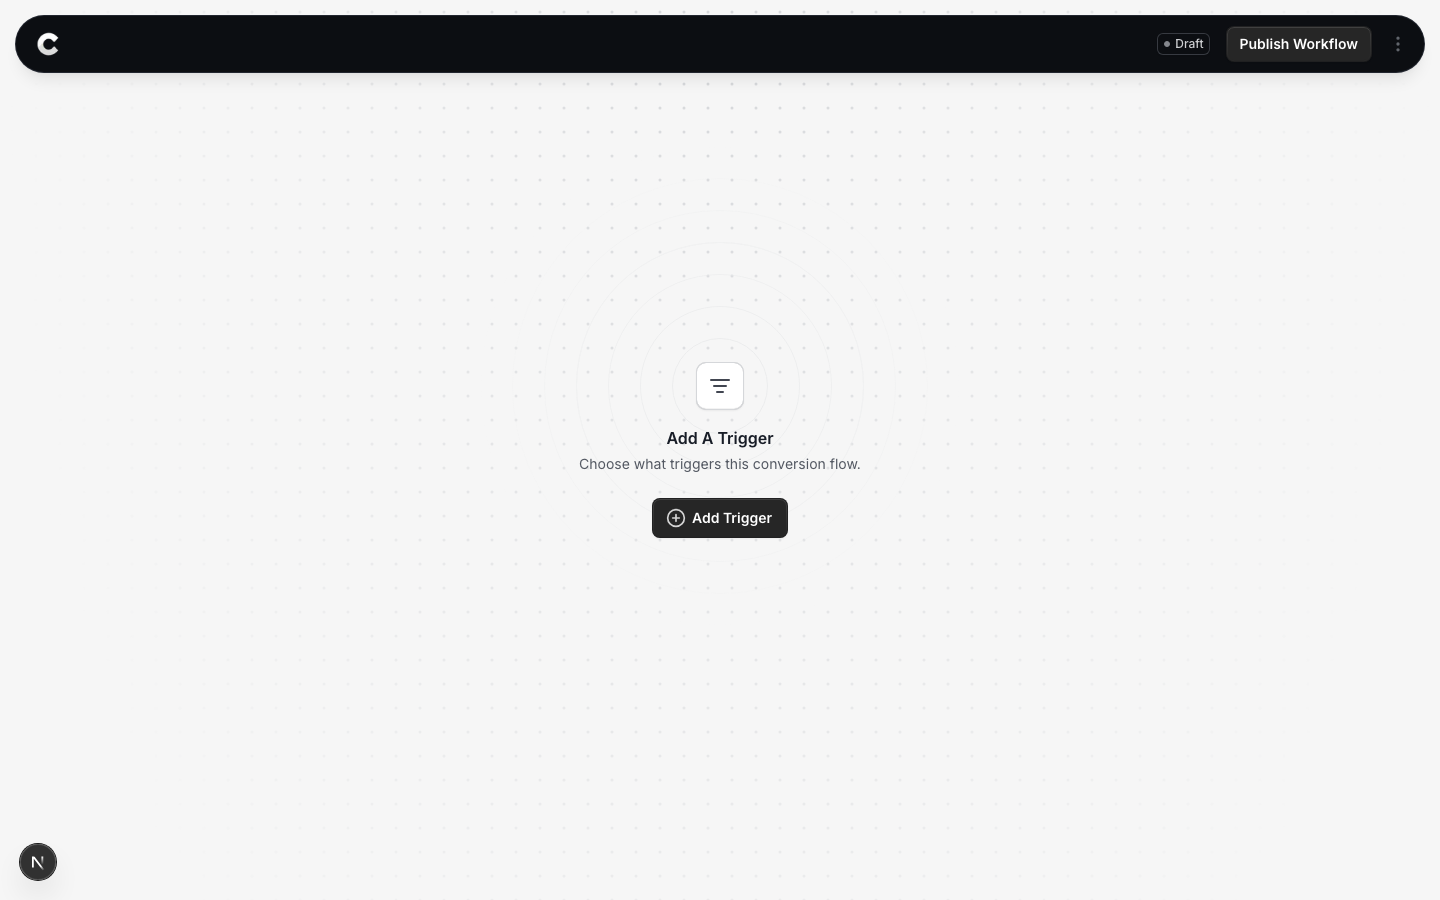
You land in the flow builder. It is empty for now. Click Add Trigger to choose what starts this flow.
Step 2: Choose Jotform
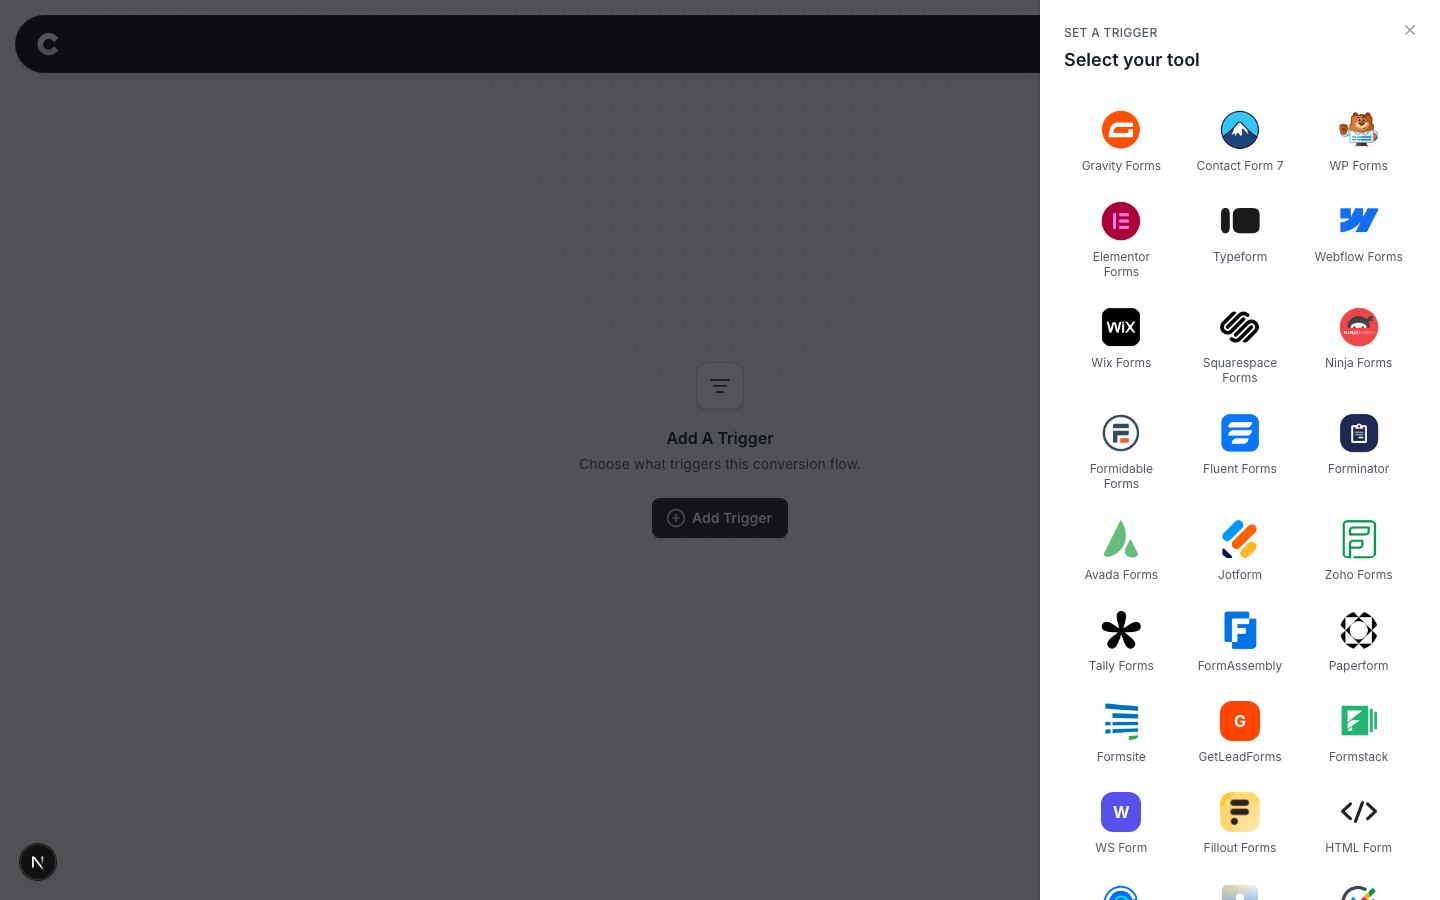
A panel slides in from the right listing every lead capture tool Converly supports, grouped by type. Jotform is under the form builders.
Click Jotform. If you do not see it straight away, scroll the panel or use the search box at the top.
Step 3: Connect Jotform with an API key
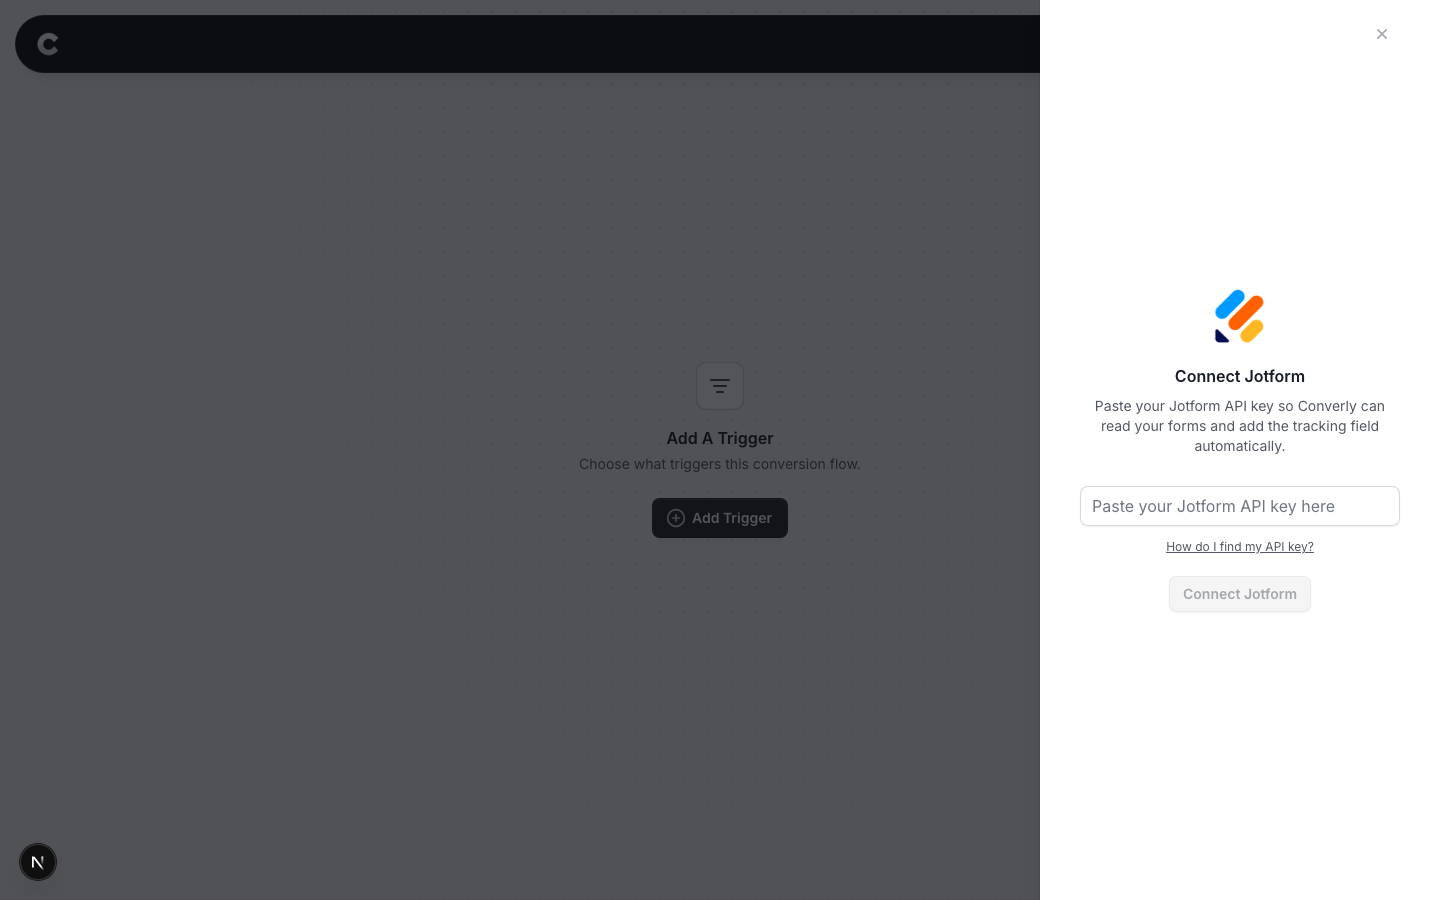
Jotform connects with an API key rather than a sign in window. The key lets Converly read your forms and add its tracking field automatically, so you do not have to paste anything into Jotform yourself.
To get your key, log in to Jotform, open your account settings, and go to the API section. Create a new key. By default Jotform creates it as Read Only, so change its permission to Full Access before you copy it. Back in Converly, paste it into the box and click Connect Jotform. The How do I find my API key? link is there if you need a reminder.
The key must be Full Access
This is the most common mistake. When you create an API key in Jotform it is set to Read Only by default. You have to manually change it to Full Access. A Read Only key looks like it connects, but Converly cannot add its tracking field to your forms, so no conversions will ever fire. If submissions are not coming through, check this first.
Step 4: Choose which forms count
Now you decide which Jotform submissions should fire a conversion.
By default the dropdown is set to Always trigger this conversion flow, which counts every submission across all your forms. To only count certain forms, change it to A specific form is selected, then tick the forms that matter.
For example, if only your "Request a quote" form represents a real lead, tick that one and leave the others unticked. A newsletter signup will then be ignored. You can tick more than one.
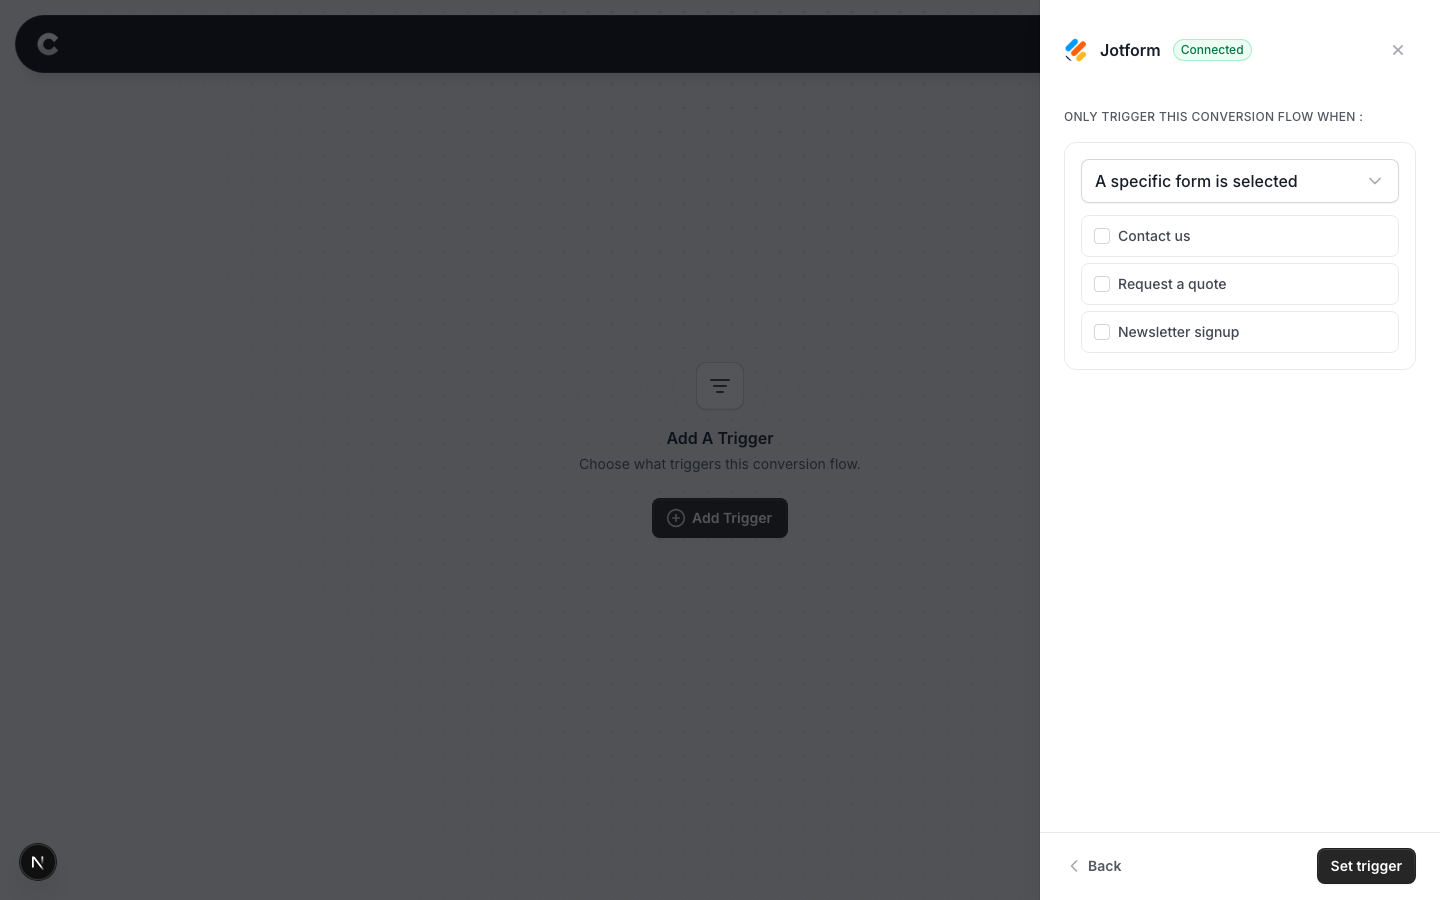
When you are happy, click Set trigger.
What happens next
A trigger on its own does not send anything yet. Next you add one or more destinations (Google Ads, Meta, and so on) and publish the flow. See Building a flow for that part.
If submissions are not showing up later, check that the right forms are still ticked on the trigger, that the flow is set to Active rather than Draft, and that Jotform is still connected on the Integrations tab under Settings.