Sending conversions to Meta tells Facebook and Instagram which ad clicks turned into real leads. Meta uses that to optimise delivery and to report accurately, even when the browser pixel is blocked, because Converly sends server-side through the Conversions API.
A destination is added inside a flow as an action, so you connect Meta while building (or editing) a flow.
Before you start: you need a flow that already has a trigger set up (see Building a flow), and access to your Meta Business account and pixel.
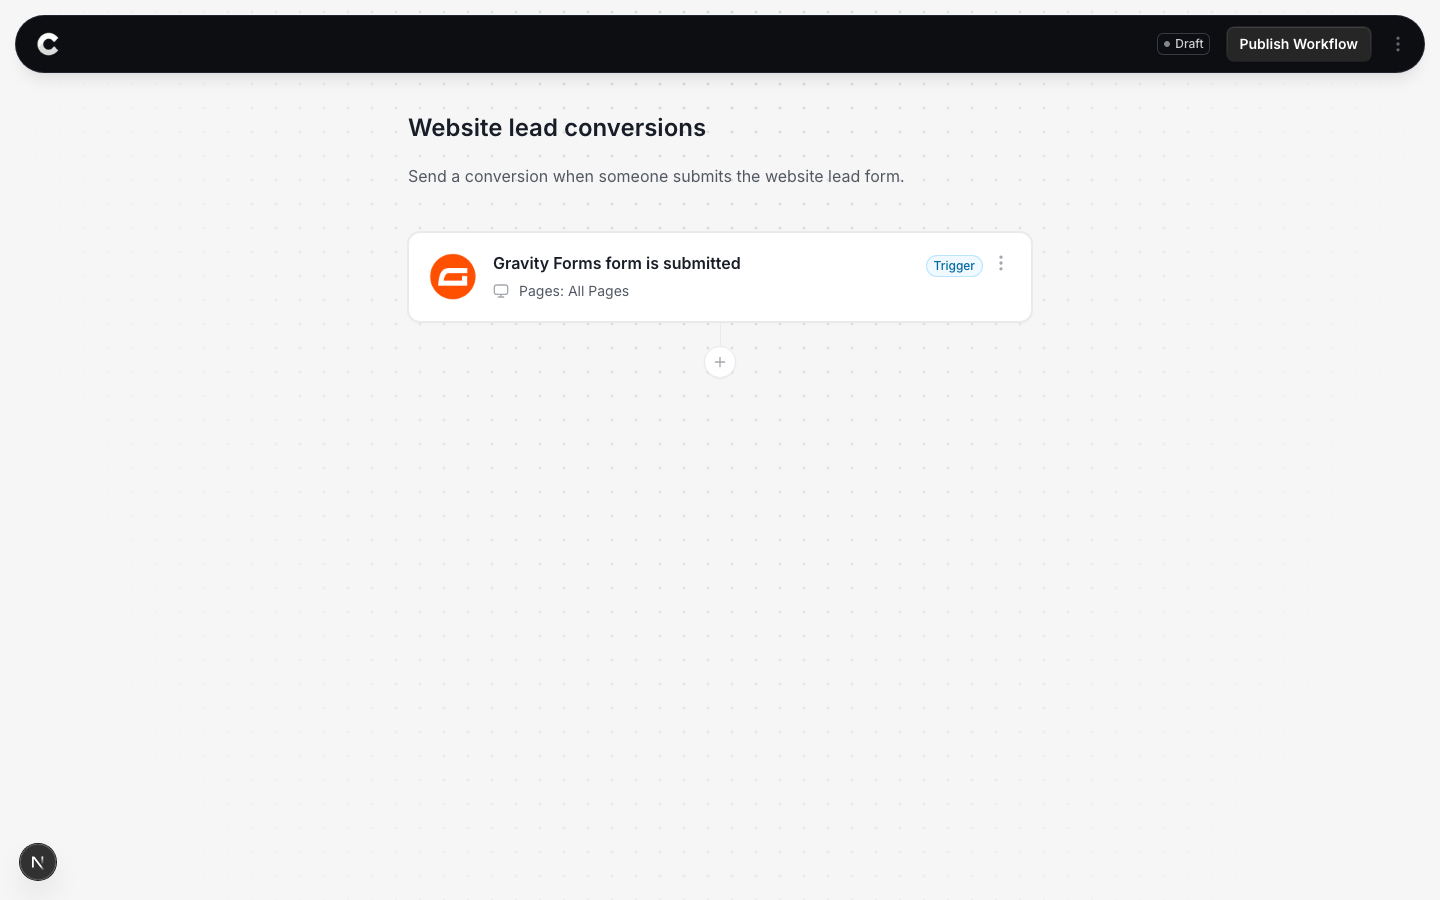
Step 1: Add an action
Open the flow with your trigger. Below the trigger card there is a + button. Click it to add an action.
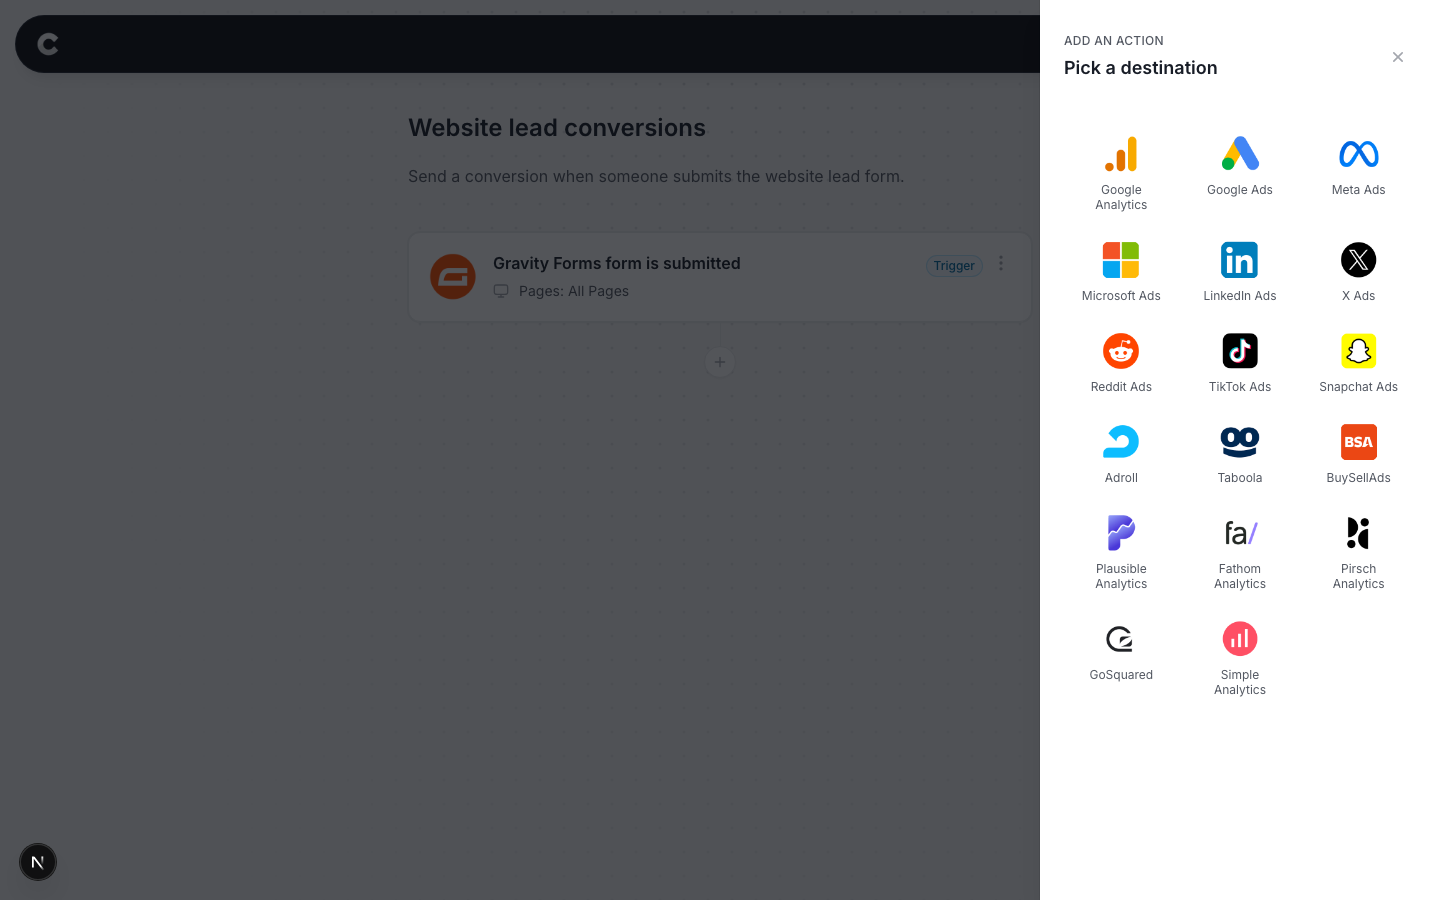
Step 2: Choose Meta Ads
A panel slides in from the right listing every destination Converly can send to. Click Meta Ads.
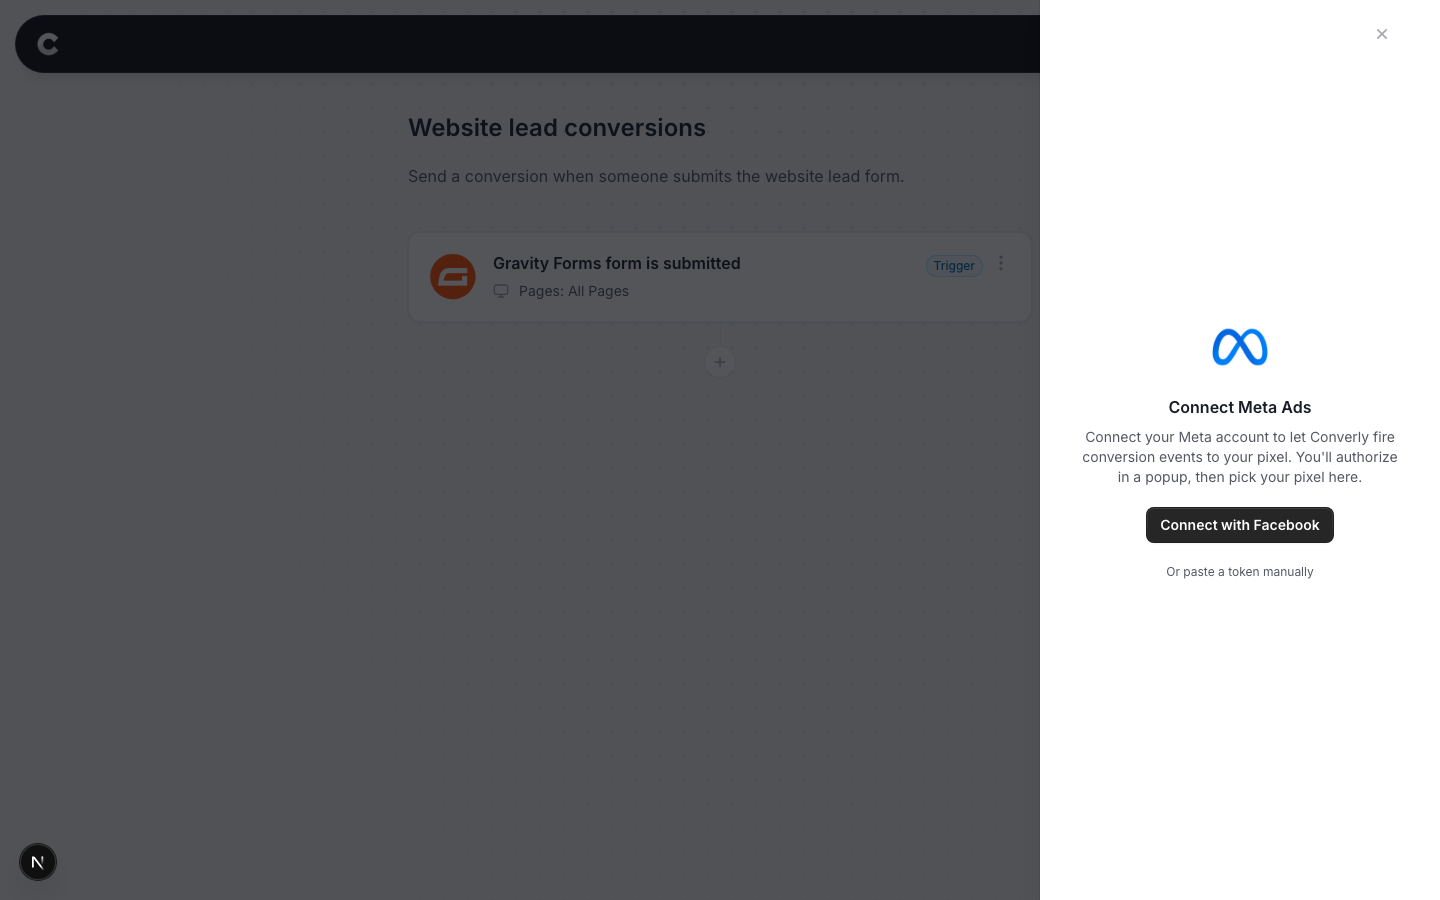
Step 3: Connect Meta
The first time you use Meta you need to connect it. Click Connect with Facebook.
A Facebook window opens. Sign in with the account that has access to your Meta Business and pixel, and approve the request. The window closes and you come back to Converly, where you pick which pixel Converly should send conversions to. This is a one time step. After this, Meta stays connected for every flow.
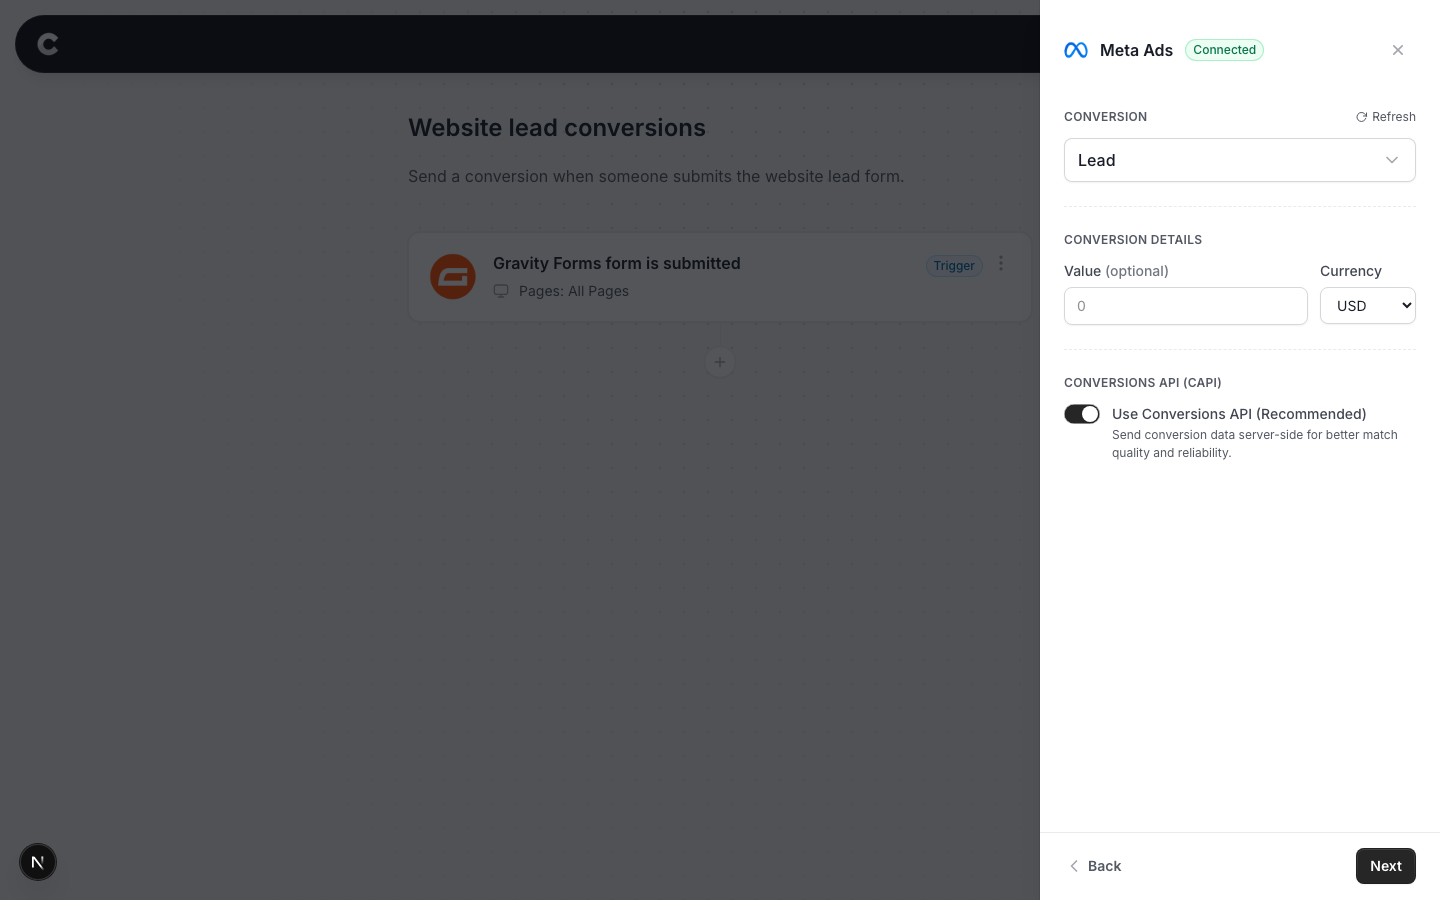
Step 4: Choose your conversion
Pick which Meta event to record. Choose a standard event like Lead or CompleteRegistration from the dropdown, or pick Use a custom event name if you track something specific.
Set a value and currency if each lead is worth a fixed amount, or leave the value blank.
Leave Conversions API turned on. It sends the conversion server-side, so it still counts even when a visitor's browser blocks the Meta pixel. This is the main reason server-side tracking is more accurate, so only turn it off if you have a specific reason.
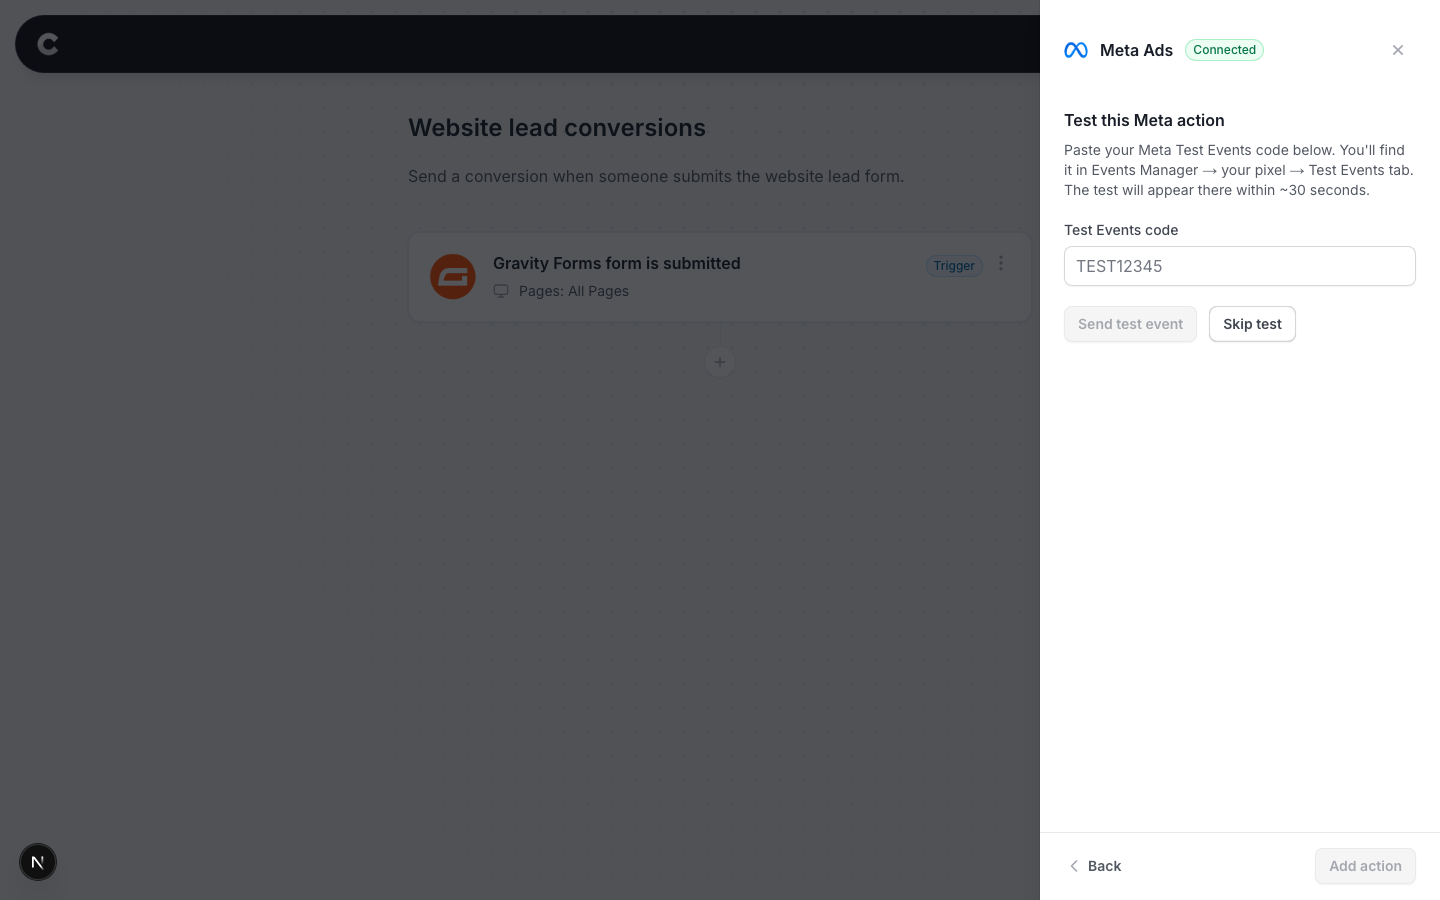
Step 5: Send a test
Meta has a live Test Events view, so you can watch your test arrive.
- In Meta, open Events Manager, select your pixel, and open the Test Events tab.
- Copy the Test Events code shown there.
- Paste it into Converly's box, then click Send test event.
Watch the Test Events tab in Meta. The event usually appears within a minute or two. Once you have seen it, click Add action and publish the flow.
You can watch this one arrive live
Unlike Google Ads, Meta shows test events in near real time. If nothing appears after a few minutes, double check you pasted the exact Test Events code from the same pixel you connected, and that the Test Events tab is still open.
What happens next
Once the flow is published, real conversions flow to Meta automatically. You can also watch them arrive in Converly on the Activity page.
If conversions are not showing in Meta later, check that the pixel you connected is the one your ads use, that the flow is Active rather than Draft in Converly, and that the connection still shows as connected under Settings.