WS Form is a popular WordPress form plugin. This guide turns every WS Form submission into a conversion you can send to Google Ads, Meta, or anywhere else.
Unlike booking tools, there is no account to connect. Once Converly is installed on your site, it detects WS Form submissions automatically. By default it counts every form built with WS Form on your site, so the important step is telling it which one you actually care about.
Before you start: Converly needs to be installed on your WordPress site, and the form needs to be live on a page.
Step 1: Create a flow
A flow is the rule that turns a form submission into a conversion. Click Flows in the left sidebar, then Create New Flow, and give it a name like "Contact form leads".
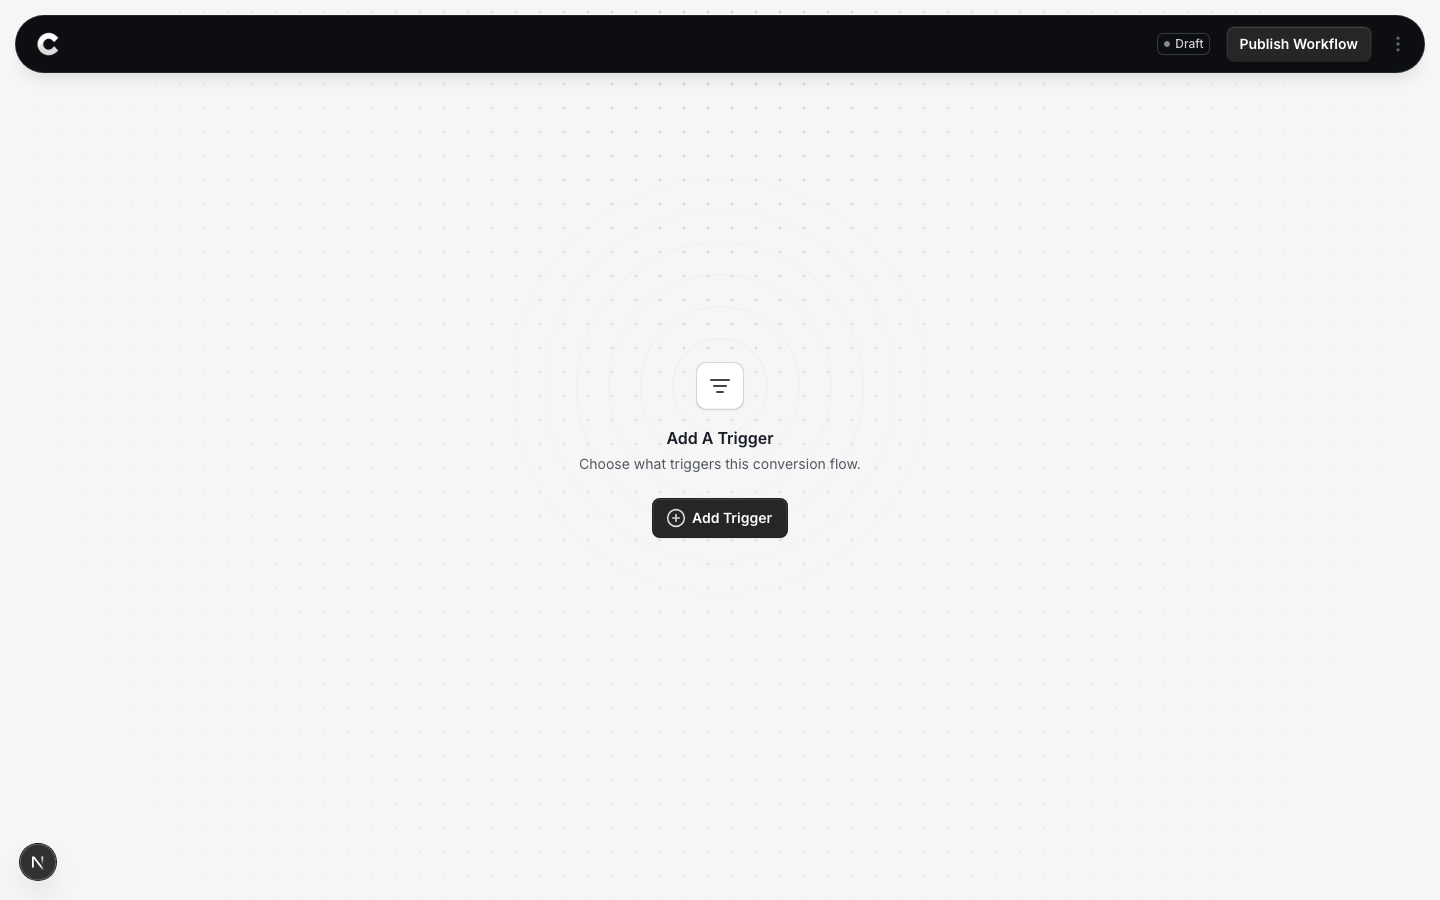
You land in the flow builder. It is empty for now. Click Add Trigger to choose what starts this flow.
Step 2: Choose WS Form
A panel slides in from the right listing every lead capture tool Converly supports, grouped by type. WS Form is under the form builders.
Click WS Form. If you do not see it straight away, scroll the panel or use the search box at the top.

Step 3: Choose where it fires
This step is the one to get right. Converly does not ask you to pick a specific form. It listens for any form built with WS Form being submitted. The page setting is how you narrow that down to the one form you actually want to count.
Read this before you choose
If you do not set a specific page, this trigger fires every time someone submits any form built with WS Form anywhere on your site. If you have a contact form, a newsletter box, and a job application form all built with WS Form, all three would count as the same conversion. To track just one of them, use the specific page option below.
Option 1: Trigger on all pages
A conversion fires whenever anyone submits a form built with WS Form, on any page of your site. Only choose this if you have a single form, or if every form built with WS Form should count as the same conversion.

Option 2: Trigger on specific pages
This is how most people should set it up. Listing a page tells Converly to only count a submission that happens on that page, which is how you isolate one specific form.
For example, to count only your contact form, find the page that form lives on (say https://www.yoursite.com/contact-us), select Specific Pages, and enter the path /contact-us. The path is just the part of the address after your domain. Start it with a slash, and do not include your domain. A submission now only counts if it happens on that page, so the newsletter box and job form elsewhere are ignored.
Click Add another page if the same form appears on more than one page, or the x to remove one.

When you have picked an option, click Set trigger.
What happens next
A trigger on its own does not send anything yet. Next you add one or more destinations (Google Ads, Meta, and so on) and publish the flow. See Building a flow for that part.
If submissions are not showing up later, check that Converly is installed on the pages with the form, that any page paths you entered exactly match the real URLs, and that the flow is set to Active rather than Draft.